How to Install Blinds and Shades for Your Windows
Shopping for new blinds is fun, and nothing quite compares to the moment you finally settle on a design, but let’s be honest with ourselves – most homeowners today aren’t prepared for what happens next.
The installation process.
What seems like an easy and mundane task can quickly turn into a headache if you don’t have the right tools, directions, and technique. And we all know how hard it is to tame that headache once it begins.
But don’t worry – that’s what we’re here for.
We’ve already covered how to remove your old blinds and how to measure for new ones, but we’re back again with another tutorial – and this time, we’re going to discuss how to install blinds the right way.
For starters, let’s make sure you have the right tools.
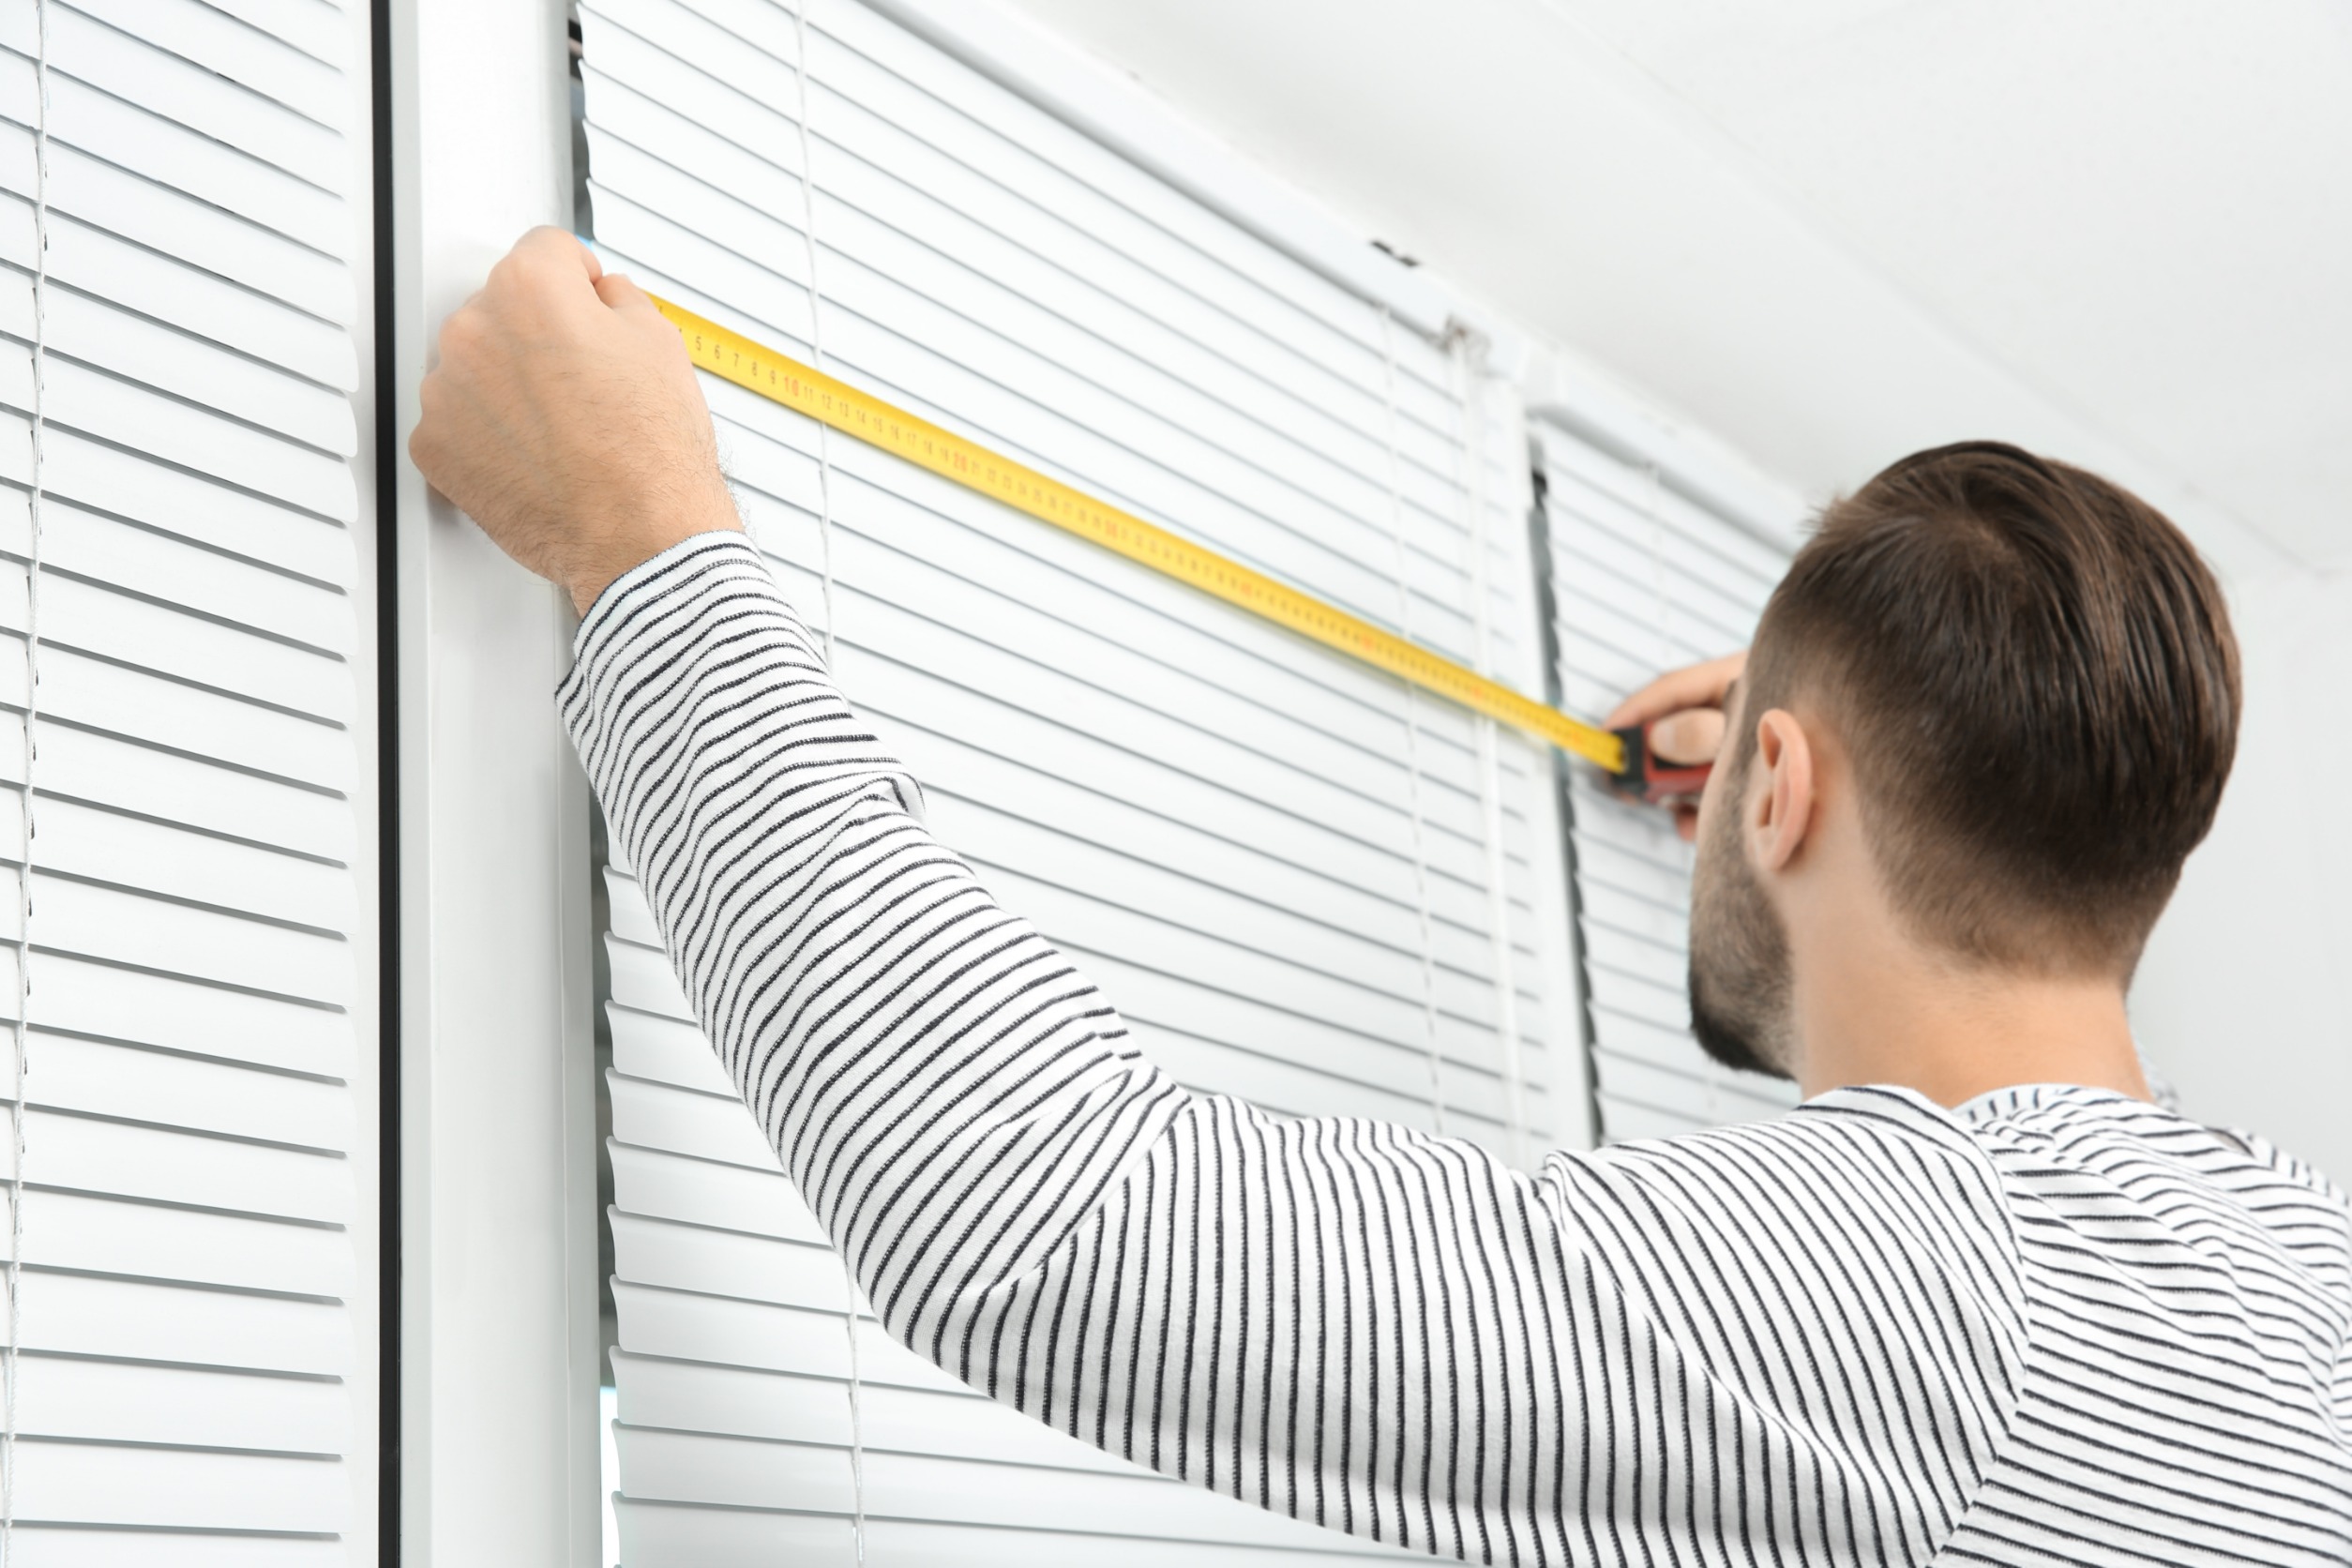
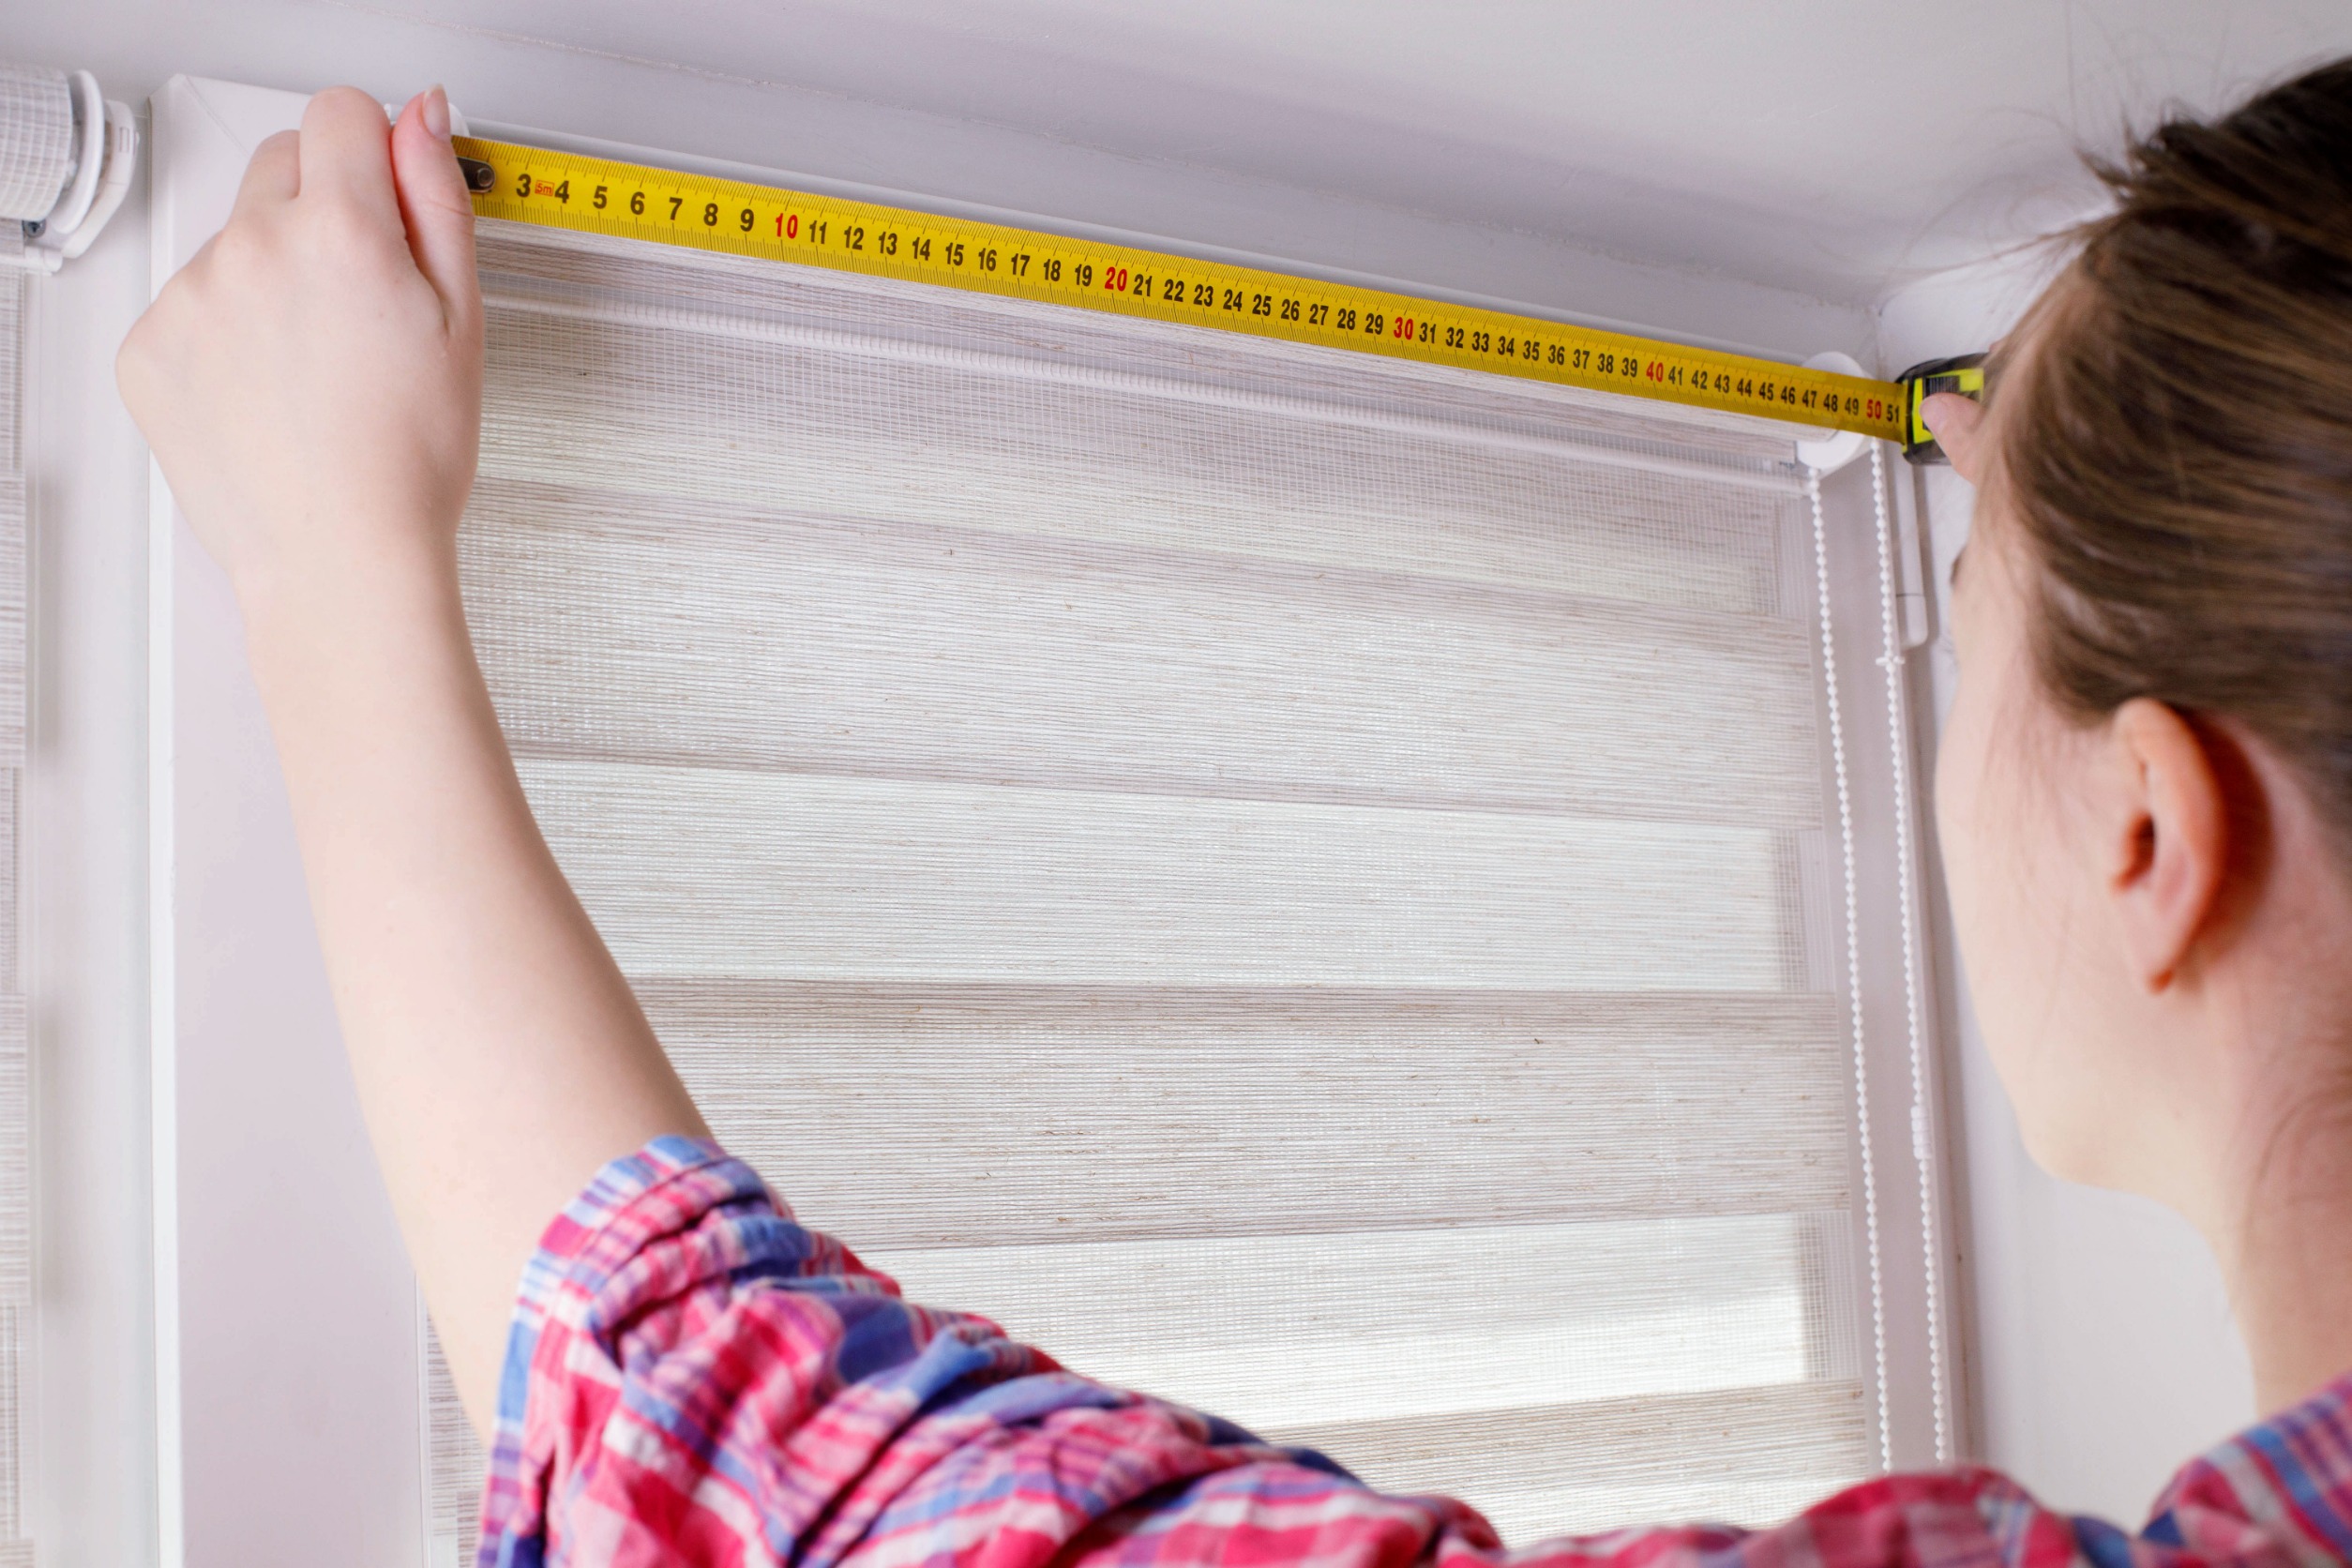
The blinds you purchase will likely come equipped with brackets and screws, but you’ll need a drill, drill bits, tape measure, pencil, level, and step stool to get started – if you want to be precise, of course.
Once you have what you need, follow the steps below on how to install window blinds.
Step 1: Familiarize Yourself With the Blinds
Not all blinds are created equal — whether you have vertical blinds, horizontal blinds, or faux wood blinds. So, before you start screwing things together and attaching things to the wall, let’s first take a moment to familiarize ourselves with the blinds – that way, there are no surprises.
Most blinds will either be outside-mounted blinds or inside-mounted blinds:
- An ‘inside mount‘ gets installed inside the window frame and sits flush with the window, giving it a clean and sleek appearance.
- An ‘outside mount’ gets installed on the outside of the frame, usually a few inches above the window, and covers the entire window.
Either way, the installation process will primarily consist of screwing the brackets to the wall or window frame, attaching the headrail to the brackets, and getting the pull cord and twist wand to work properly.
Step 2: Install the Mounting Brackets
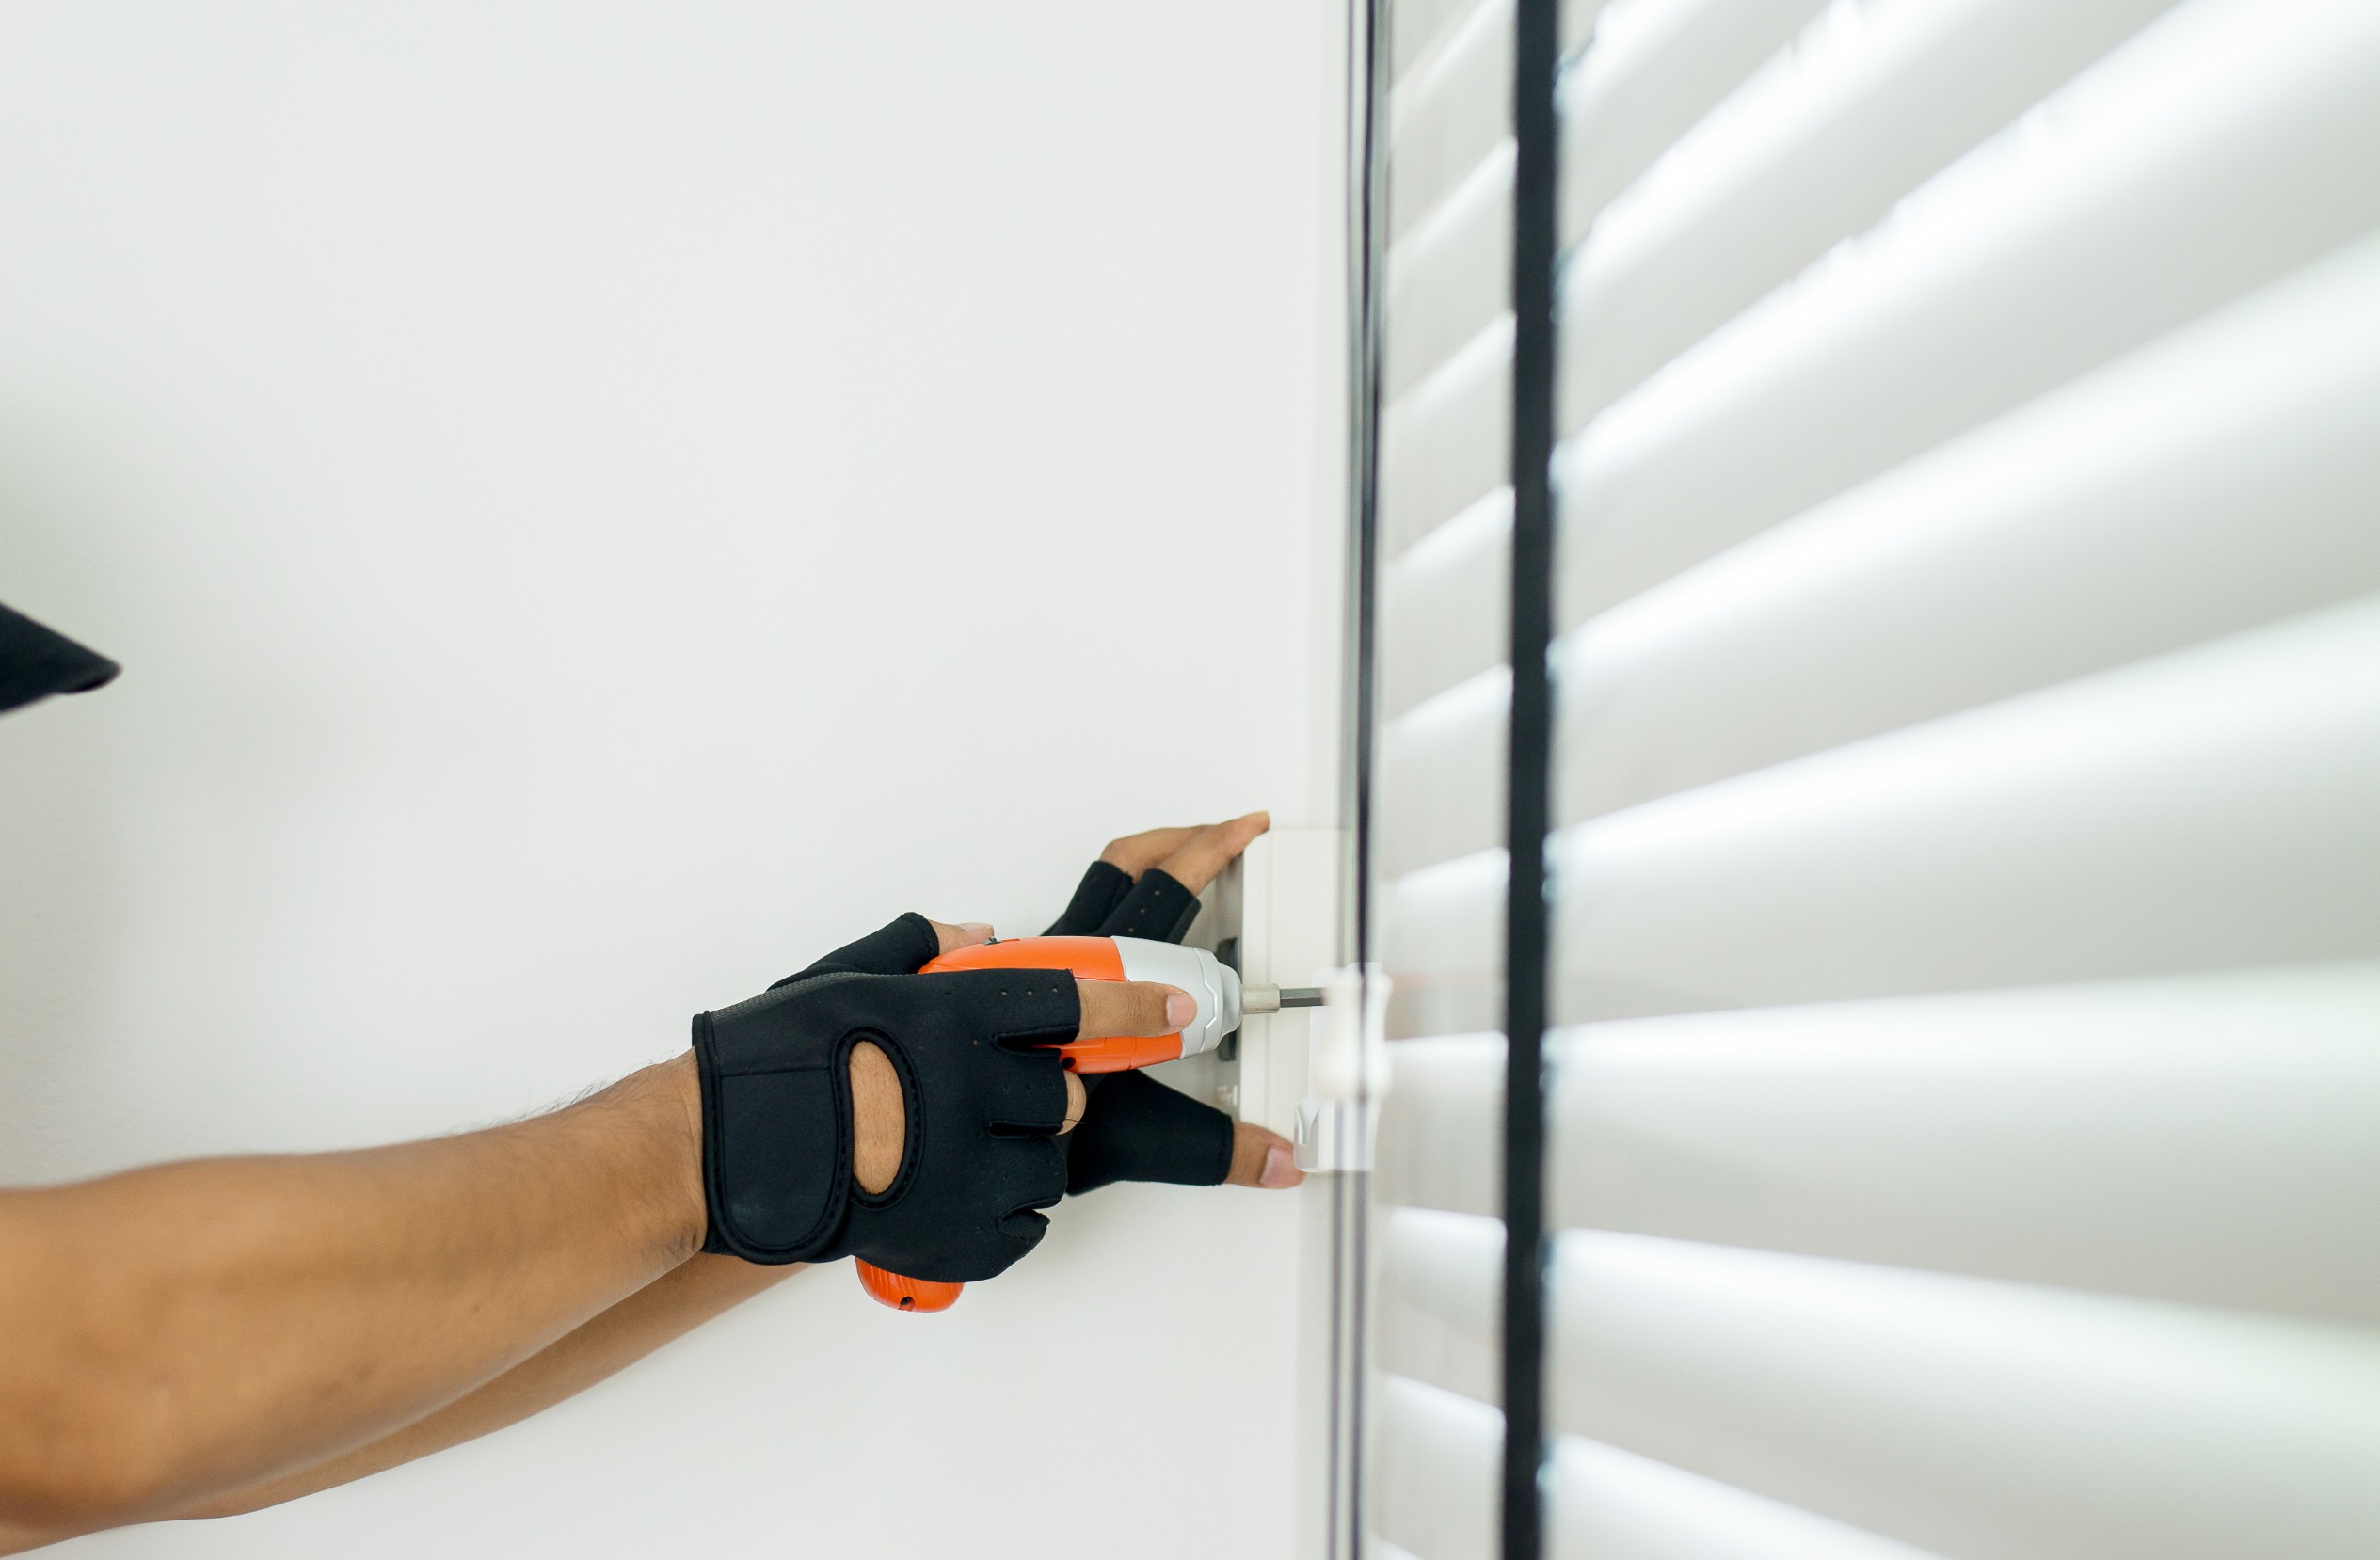
Now that you have everything mapped out, let’s start with the brackets – the tiny metal pieces that hold the headrail in place. Both inside and outside mounts have a variety of bracket styles to choose from.
Three of the most popular mounting brackets include:
- Box Brackets usually get screwed into the side of the window frame and feature a small door that allows you to slide the headrail in.
- L-Shaped Brackets usually get screwed into the top of the window frame or outside of it, and allow you to snap the headrail into place.
- Spring-Loaded Brackets are similar to L-shaped brackets and are usually screwed into the top or outside the frame, and are spring-activated.
For an inside mount, measure out 1-3 inches from each side of the top of the frame, and use a pencil to mark the holes. Use a drill bit to drill pilot holes before lining up the bracket and screwing it in.
For an outside mount, determine how high the brackets should go and use a level to ensure it’s not crooked once screwed in. Just like before – mark your holes, use the drill bit, and screw the brackets in.
Step 3: Attach the Headrail to the Brackets
Once the brackets are secured to the wall (use a wall anchor if there’s no stud) or window frame, you can take a deep breath – in through the nose and out through the mouth. The hard part is officially over.
But you’re still not done – next up is attaching the headrail.
For a box bracket, simply open the door or latch, slide the headrail into place, and close the door/latch. You’ll know it’s secure if it stays put whenever you try and pull it out of the bracket.
For an L-shaped or spring-loaded bracket, slide the headrail under the bracket and snap it into place. You’ll know it’s in place by gently tugging down on the blinds with a little bit of force.
Step 4: Install the Wand & Pull Cord
Alright, you now have your blinds installed, but there are still a few finishing touches that could make or break how your blinds look or function. First, let’s get that pull cord and twist wand installed properly.
The twist wand is easy. There’s usually some type of hook found on the left or right side of the blind itself. The tilt wand simply sits on that hook. When you twist it, the blinds should either open or close the face.
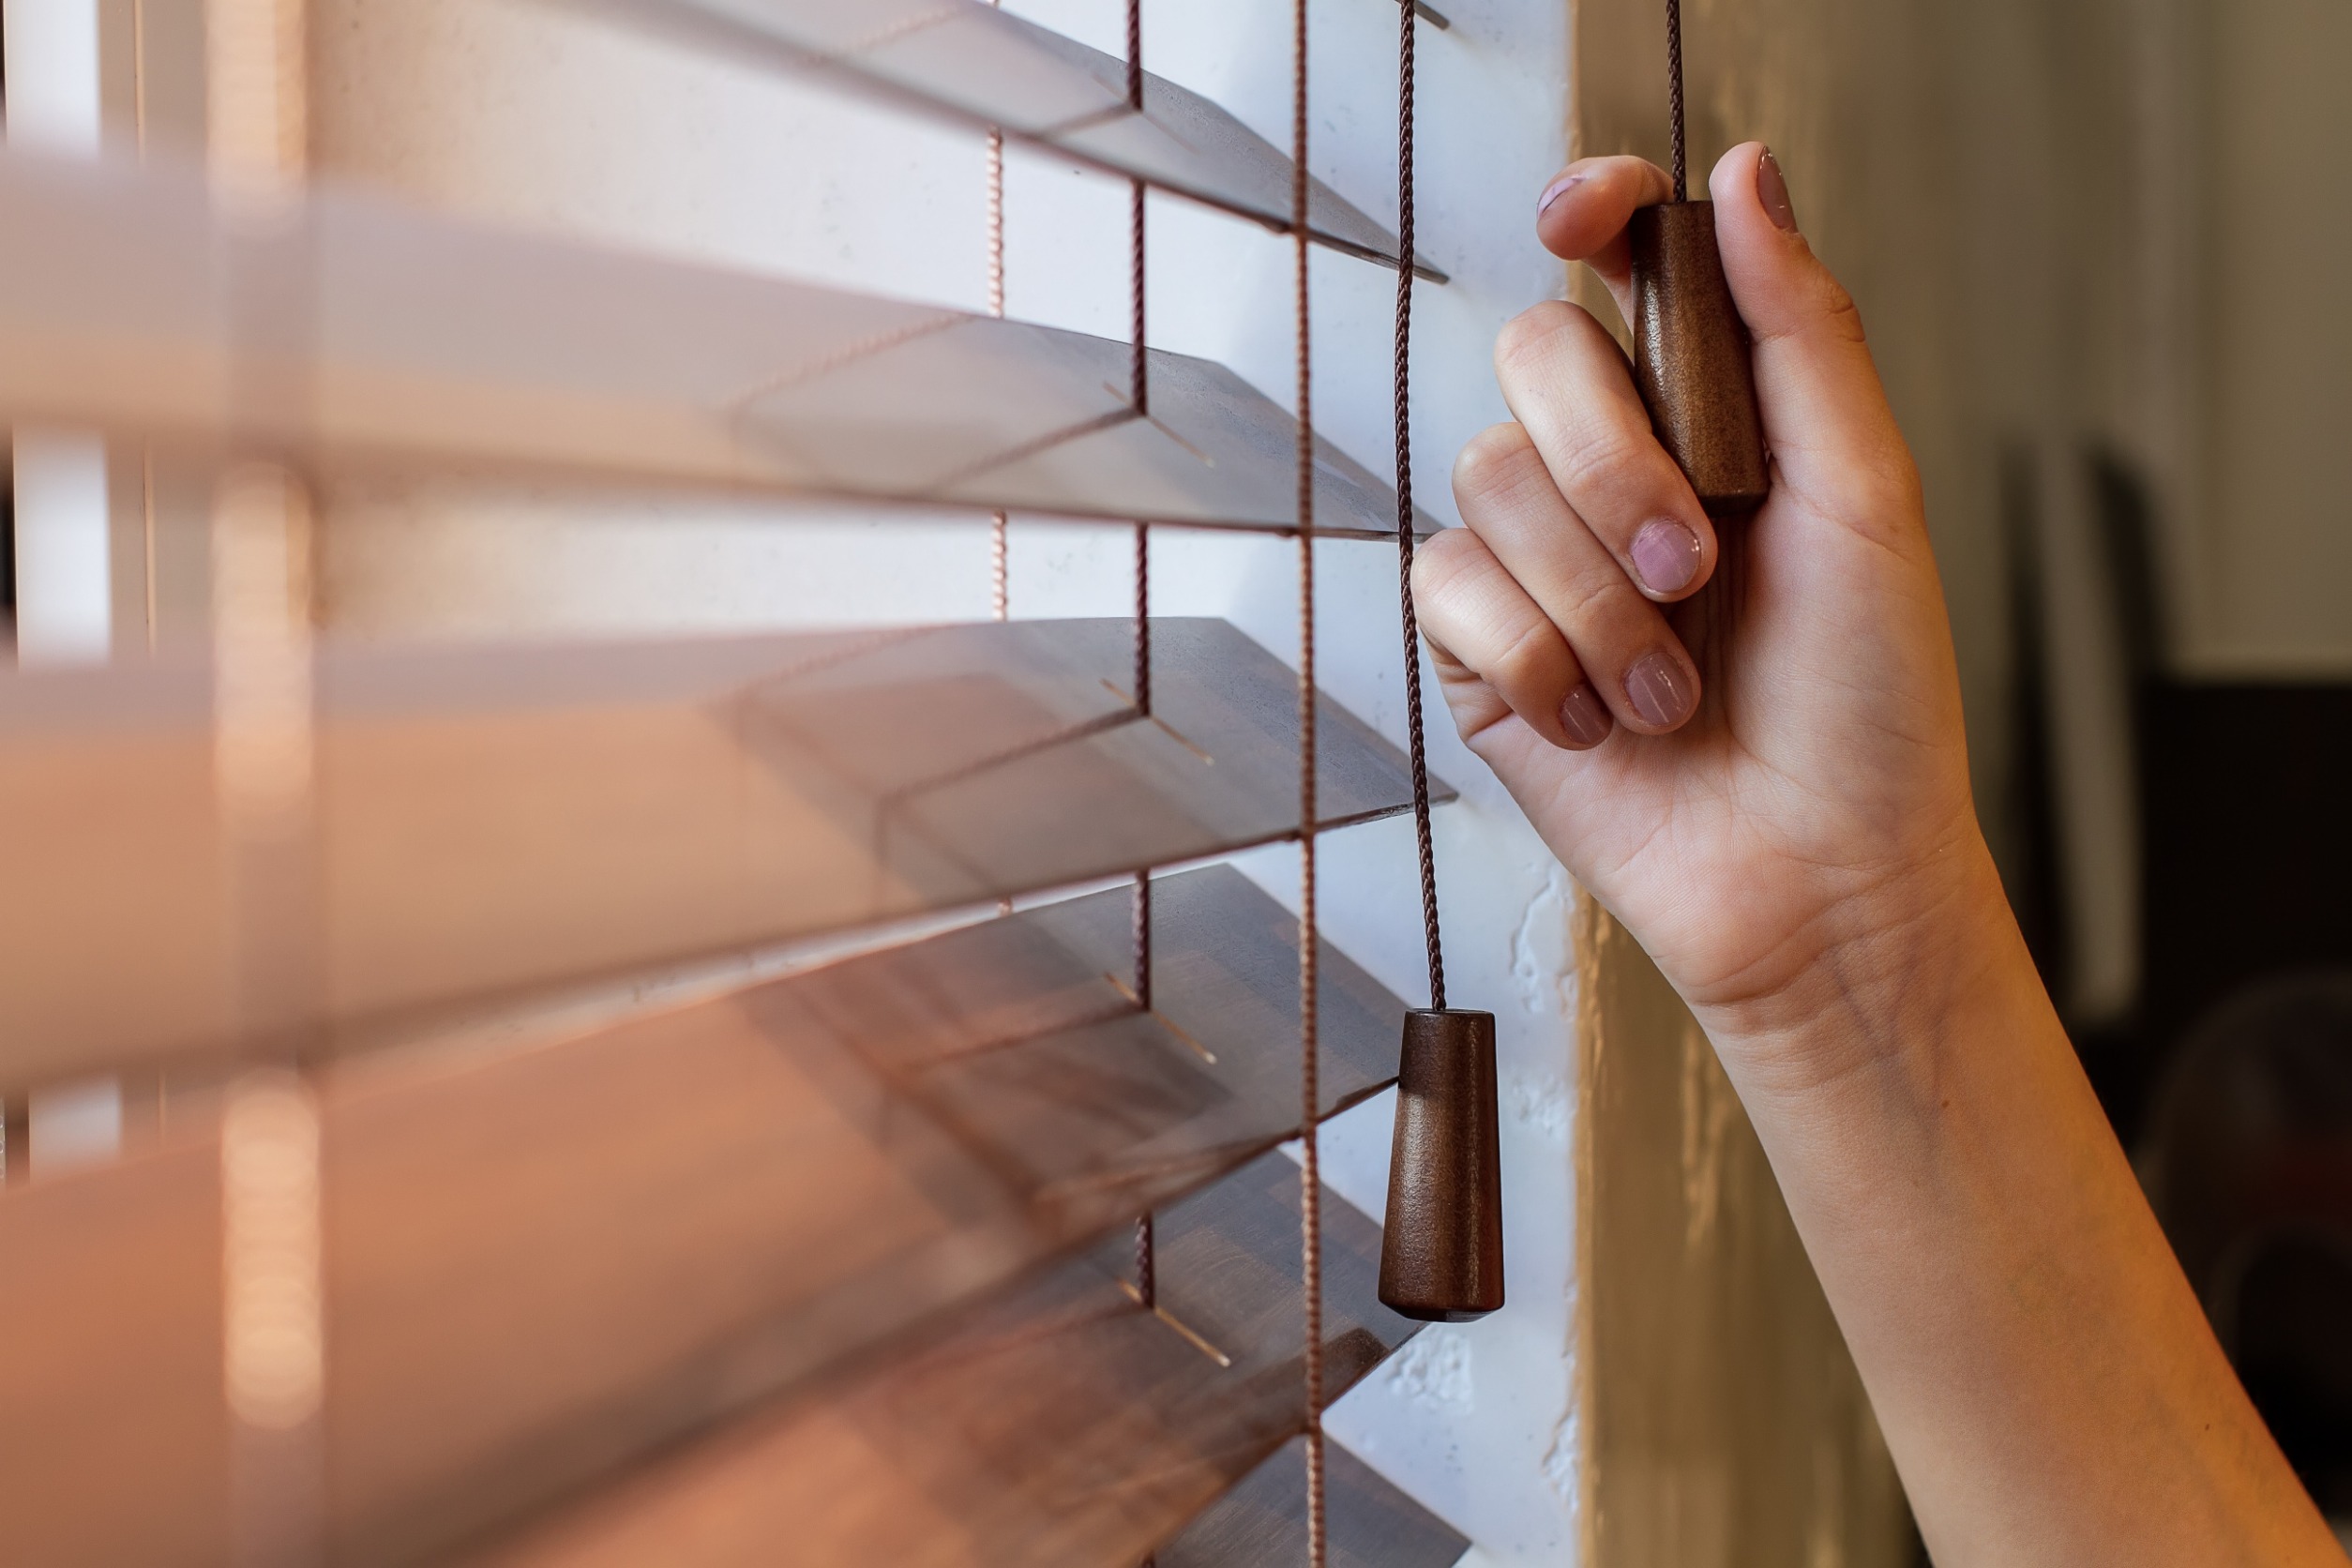
The pull cord is usually located on the opposite end of the wand, and gives you the ability to fully open and close the blinds (up and down). Sometimes the cord hangs and doesn’t need to be attached to anything, but other times they send you a plastic covering that gets screwed into the side of the frame.
Step 5: Install the Window Valance

Last but not least, we have the window valance. Not all blinds have this, but it can give your window blind a little more pizzazz and a decorative touch. Don’t worry – they’re usually extremely easy to install.
Most window valances come equipped with small plastic valance clips that sit (unscrewed) on the headrail. Just attach the valance to the clips and let it sit like that. It might not seem too sturdy, but it doesn’t have to be.
Sometimes the window valance needs to be screwed to the wall. In this case, mark your holes with a pencil and pre-drill the holes with a drill bit – if you want it precise, we don’t recommend eyeballing it.
Contact Us Today for Immediate Assistance

Did you recently purchase a new set of blinds or shades for your home? Have you already completed the removal process for your old blinds? Are you worried you might ruin the installation process by yourself?
If you answered ‘yes’ to any of these questions, then you’ve come to the right place.
Welcome to Arizona Blinds Company.
While it takes just five easy steps when installing blinds or shades, we understand some homeowners would feel a lot more confident if the window treatments were installed by a professional. Don’t worry – there’s no shame in that!
The good news is we have all the tools, knowledge, and techniques to ensure your blinds are in good hands. We ensure all of our blinds are installed with durability in mind – but the window coverings can still be taken out.
To find blinds that fit your style or to schedule a day for installation, contact us today at (623) 900-1316.